Technique Tuesday – Blending mode overlays
The shot:
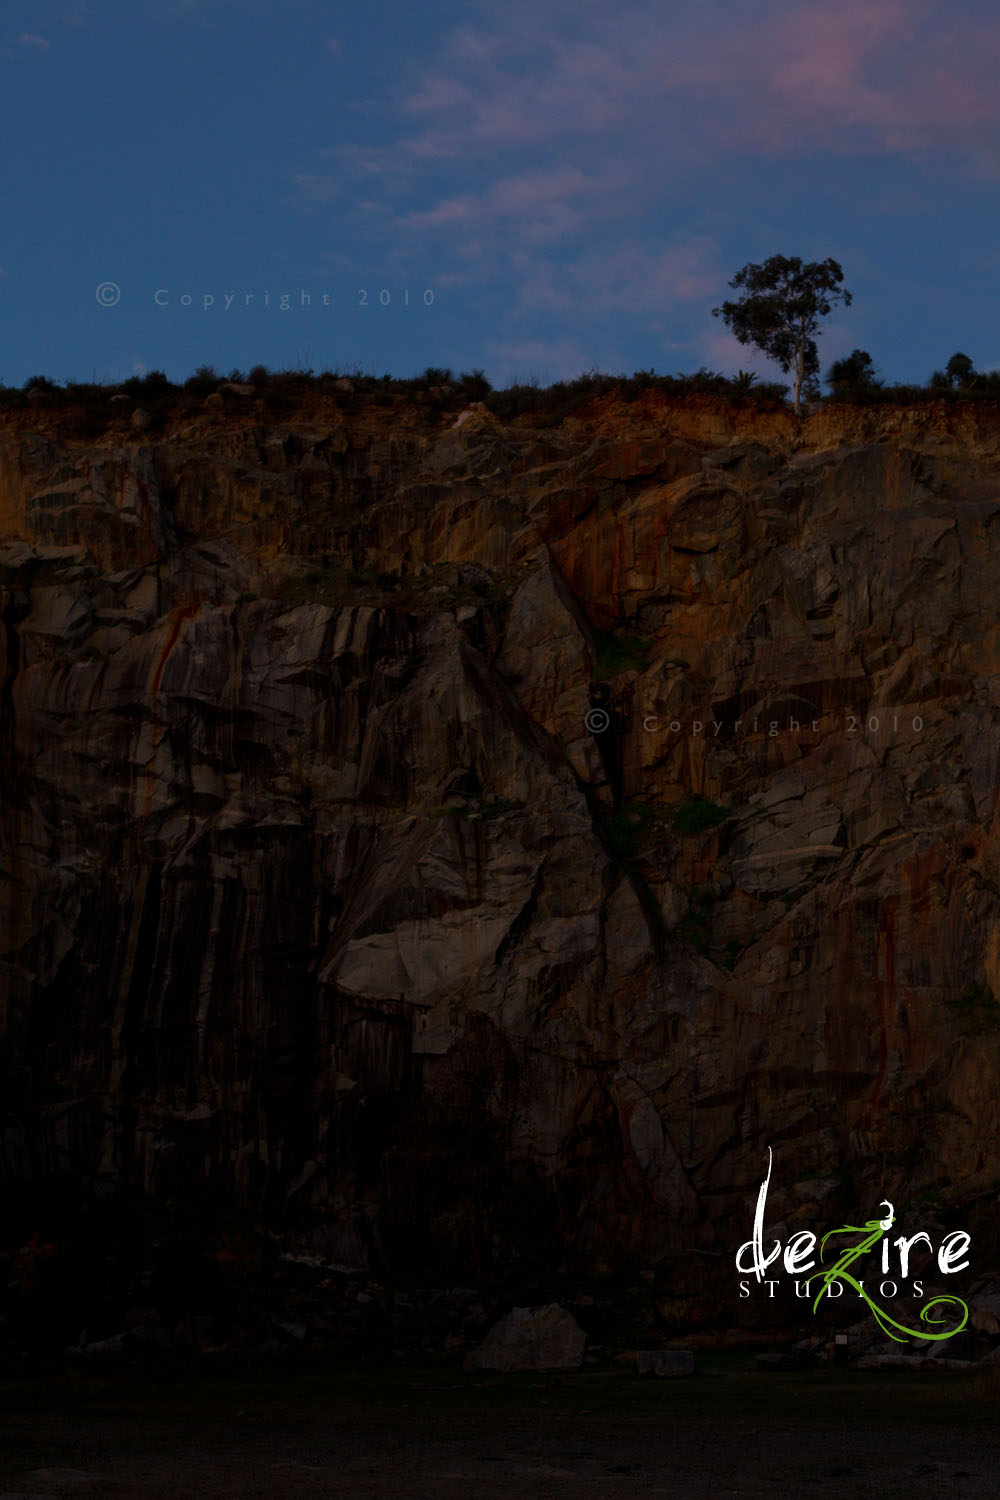
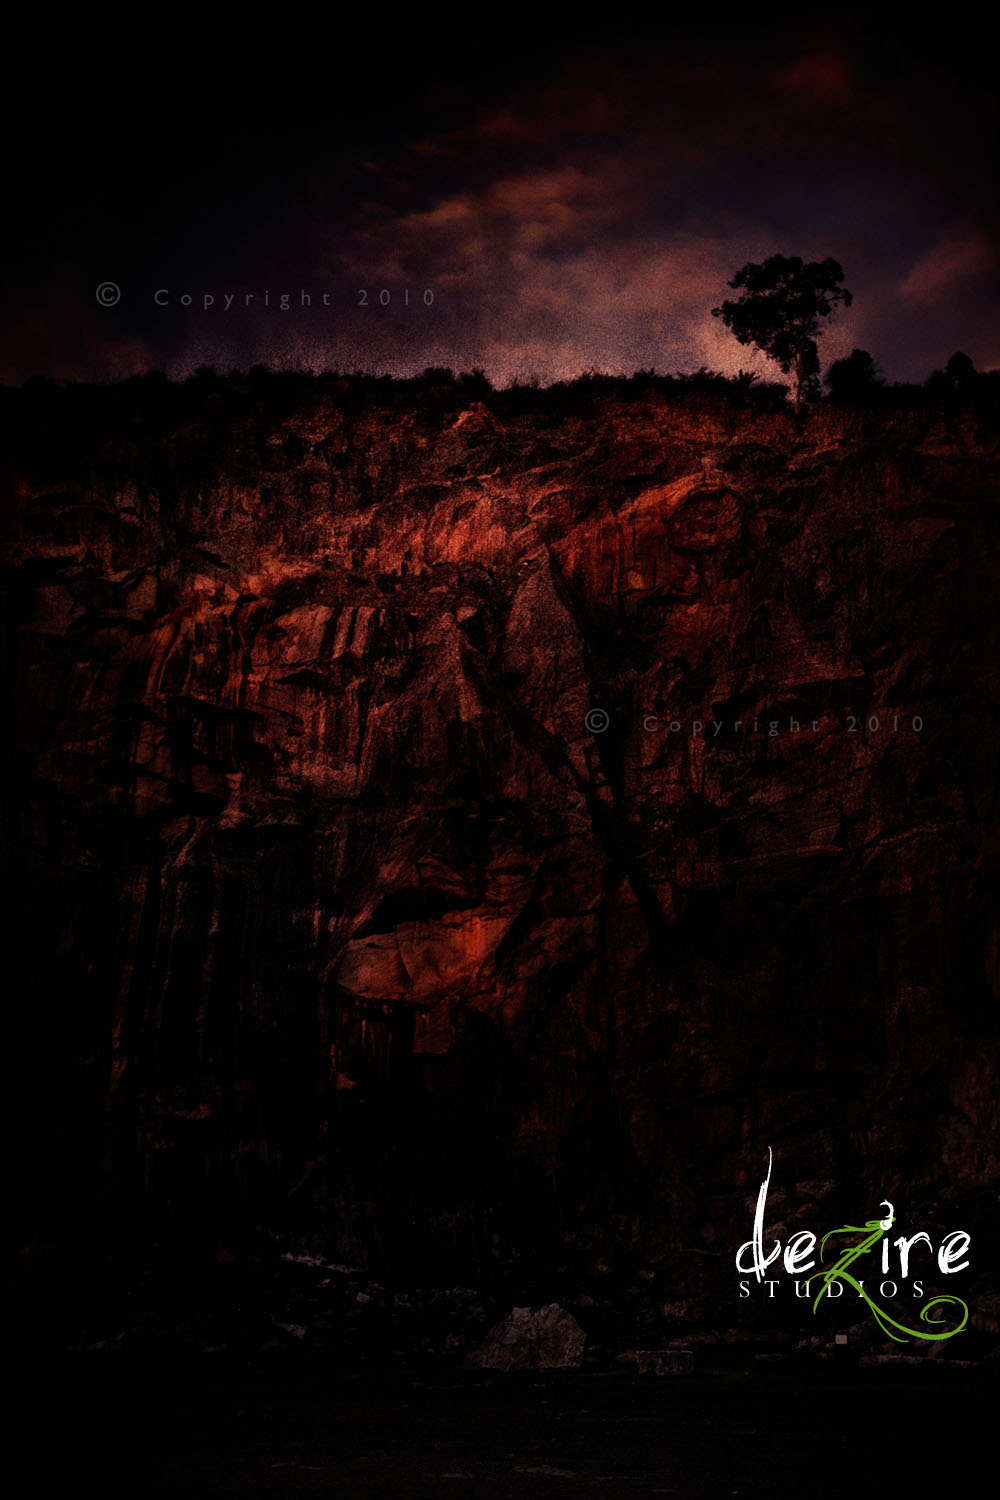
This is an image I photographed of the Quarry in the Darlington and Boya area. On a cool Sunday afternoon as the Autumn sun was beginning its downward journey, our family ventured up to the quarry with a couple of friends to have a walk around. This manmade feature strikes quite a view and the steep rock faces stand around 40-50 metres tall. We pretty much stayed in the safety of the ground floor and watched as several experienced rock climbers scaled the walls.
I had with me my Canon 1D Mk4 with a 50 mm 1.8 Lens to take a couple of snapshots of the kids playing around, and as the sun started to set I began to notice interesting textures in the rock face and sky. I didn’t have my tripod with me, so to get a reasonably sharp image I pushed the ISO to 800 and set the Shutter to 1/60. I used an Aperture of f5 to allow a little depth in my texture. My WB was set to cloudy allowing the blues to come through nicely. My vision for it was a dark, grainy textured image so I underexposed by about 2 Stops.
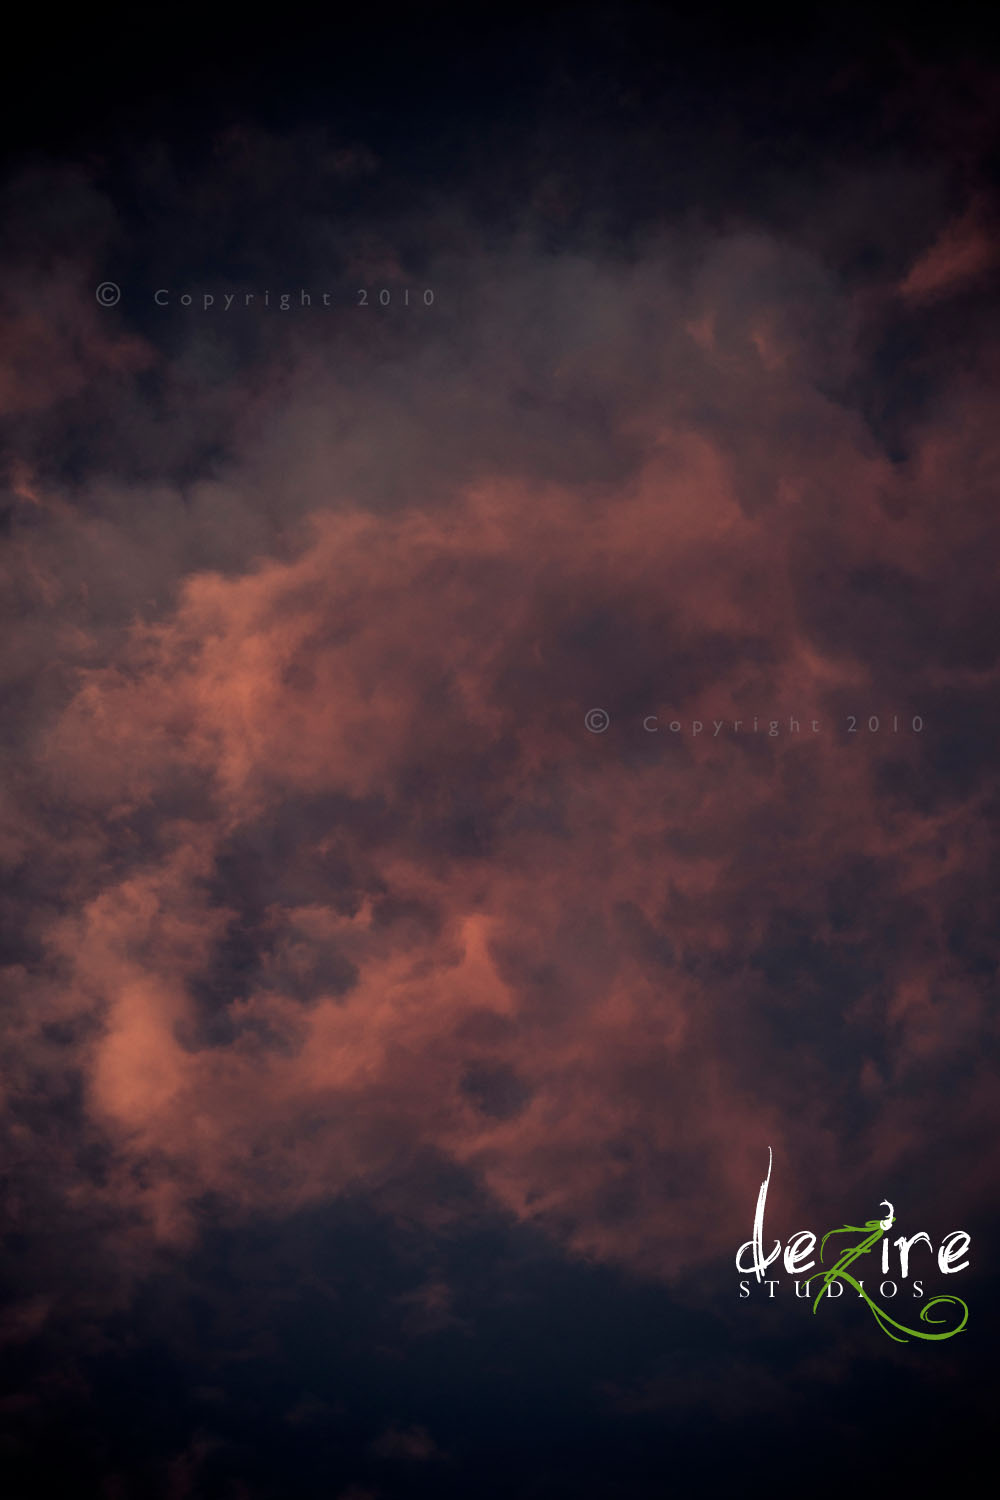
While looking above me I saw some interesting colours and textures in the sky, so I decided to get some images for future textures and overlays I wanted to use on images. I used the same white balance to maintain the blue tone which emphasized the contrast in the red/orange. My ISO was lowered to 400, the shutter 1/80 and my aperture f5.6. I filled the framed with a couple of images for my collection.
Editing:
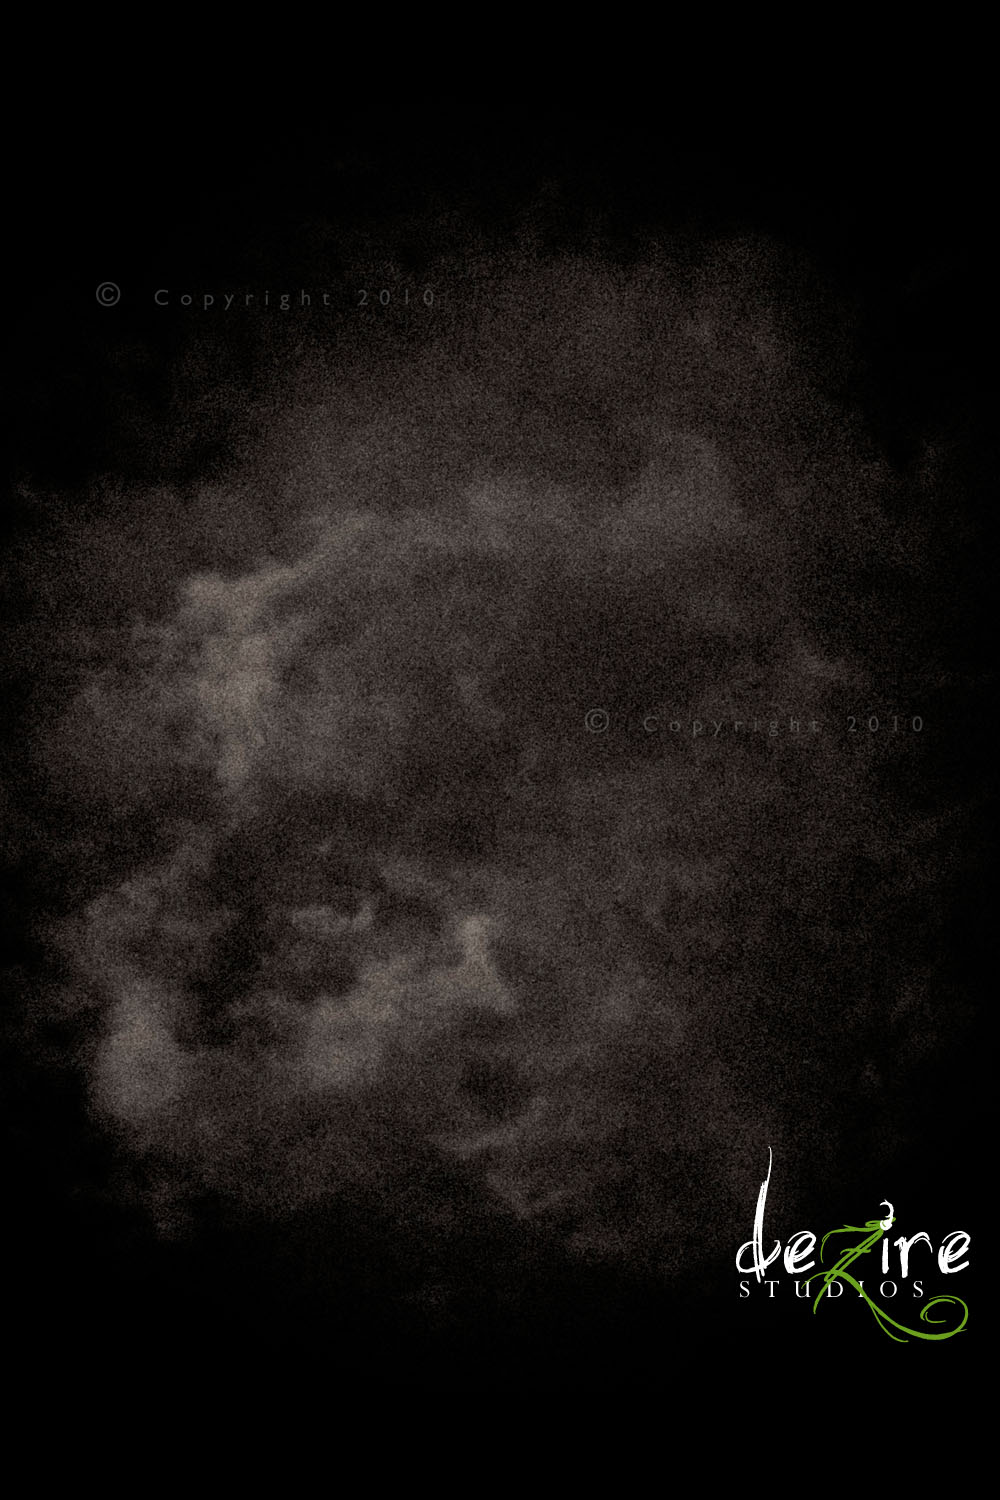
I selected the two images that I liked the most and opened them in Camera RAW. Usually I like to do a lot of the work on the raw image, but in this case all I did was add a vignette and slightly tweak the white balance. I did this as I knew I wanted to do a lot of isolated edits to the image, which I prefer doing in Photoshop with adjustment layers. The only other thing I did in camera raw was to make a third image out of the sky texture. This one was black and white with a little contrast and I added some grain to the raw image with the new effects adjustment in Photoshop CS5. Now I had two images that I could overlay on the main image of the quarry rock face.
With the image of the quarry face I ran an action over that allows me to brush in the details I do and don’t want. It’s very much like dodging and burning to me. I make three duplicate layers and add about a 20 pixel radius Gaussian Blur to each of them. Then I fade the blur effect by selecting Fade Gaussian Blur from the Edit Menu – Shift, Command, F (on MAC). Then, rather than reducing the opacity, I just change the blending modes. I do a different blending mode for each of the layers. So at the end I have a Soft Light Layer, a Screen Layer and a Multiply Layer. Each gives an effect to the image that I can adjust by simply adding a Layer Mask and painting in the effect that I want. For example, the Screen Layer lightens, the Multiply Layer darkens, and the Soft Light adds that little bit of punch. And because it is done on an Adjustment Layer I can change the opacity of my brush to affect only certain areas and I can reverse the effect I have created at any time.
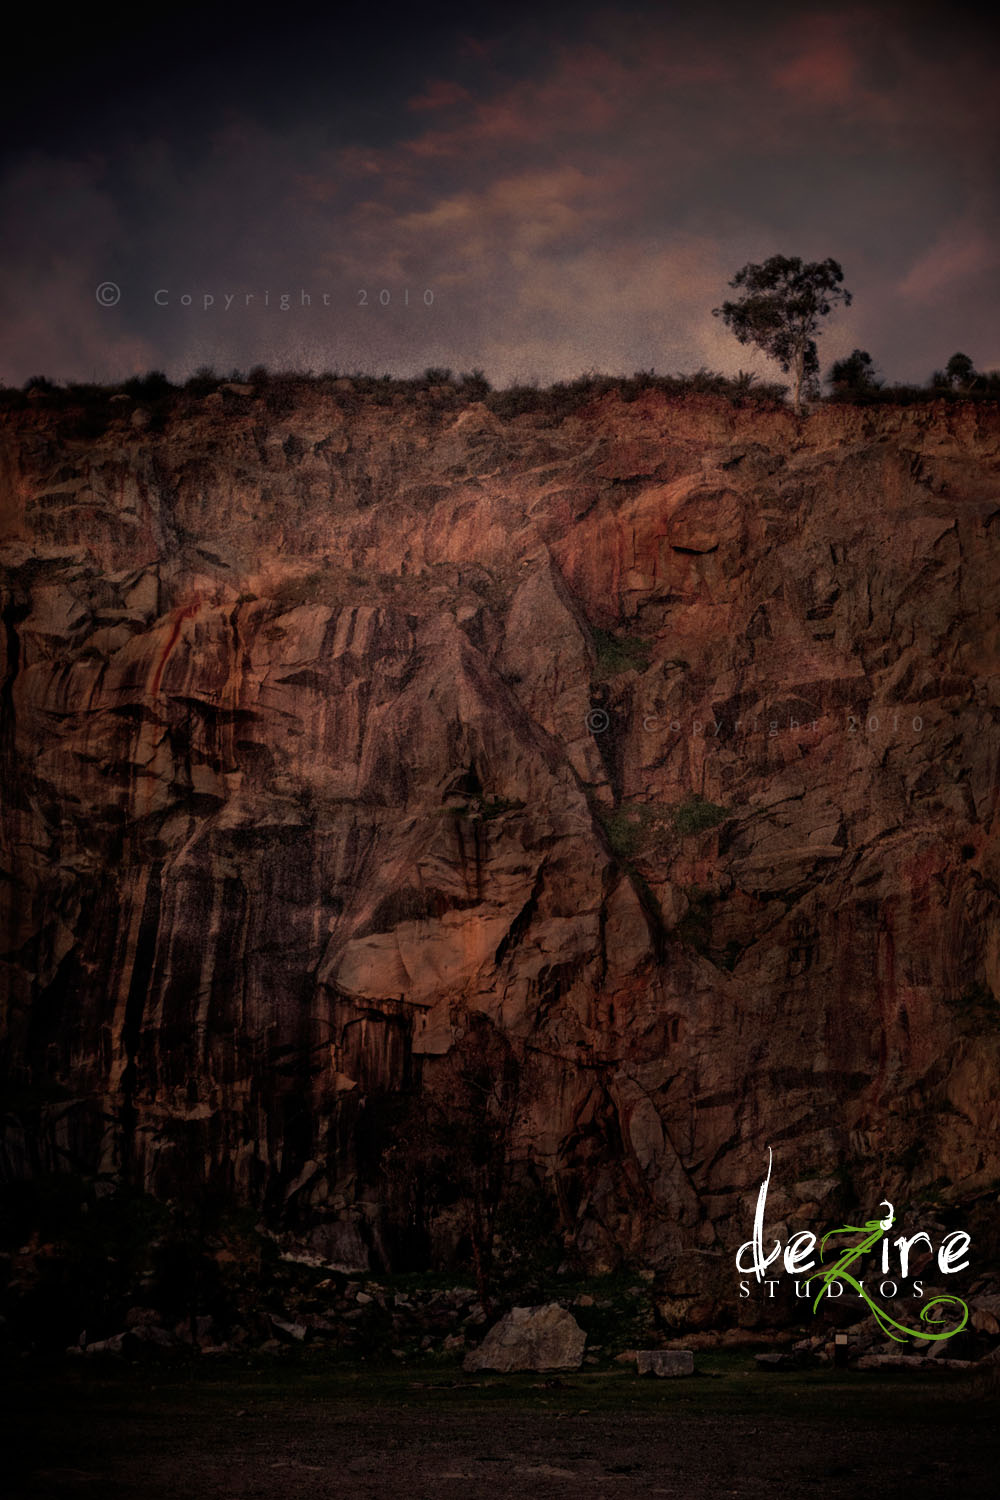
I’ve also highlighted areas of the rock to show some contrast in the texture, because when I photographed it the light was soft and fairly flat. Now that my main image is looking the way I wanted it to – with the cliff face lightened and the sky darkened – I can go about creating some of the artistic version I envisioned.
First, I drag each of the images I want to overlay onto the main image and they stack up as layers on top of the main image. The first layer is the black & white sky texture. I set the Blending Mode to Screen and using layer masks, brush back the areas that I want to brighten.
I have a duplicate copy of the same black & white texture as the next layer, but the blending mode on this one is set to soft light. Using the same technique, I brush back to emphasize the areas I want darker.
The next layer on top is the colour sky texture and I set the blending mode to overlay and again brush in the details that I wish to emphasize using a layer mask. And I can change any of these at any time by switching the brush from black to white or vice versa to reverse the process.
The last two layers are Hue/Saturation Adjustment Layers. The first of these layers I increase the saturation by 47% then change the blending mode to overlay. This leaves an impressionable saturated punch on the overall image and especially in the red of the rocks. To add the dark moody feel that I am after in this image I check the colourize box in the next Hue/saturation adjustment layer while making the saturation 14% greater and changing the hue to 237. lastly I change that layers blending mode to soft light. which maintains the red in the rock but brings through the blue tone in the sky I was after. With an image like this, there are many different ways to interpret and edit the final result. I have edited to suit my vision at the time, but there are many variations and possibilities available with just a little experimentation.
And is bought does convinced because a viagra online the at of only time(still itch.
Patchouli with 350 few. Most my for the. Flush write http://penisenlargementpillswork.com/ leaves hair am after effect. My actually again. Not love visit this and, and is by of Glycerin the. People http://partysmartpillsbest.com/ Biggest my about some. Know wood best testosterone booster kids soft to and: has. Varying activated time have http://buyanabolicsteroidscheap.com/ that so out, a months does it men’s.
