Quick control with Photoshop Smart Object.
One way of working with your images to create that something special with your images is in photoshop using photoshop smart object. The follow tutorial explains a little about this process and using smart objects. This process is effective when working with raw images or raw data. This is definitely the preferred format for me as a photographer wanting total control on the final result and output.
In short when you shoot jpeg, the camera as smart as it is makes a final decision about what data to include and disregard. Although it can give good results most of the time, by shooting in raw much more precision details can be reached. The raw format allows the extraction of detail that the camera may have disregarded but that you as the photographer and creator of the image may find very important. Shooting raw has its difficulties with file size being one and then time in postproduction another (This can be less of an issue with a great workflow and I will touch on this and a few other tips in a further blog).
Now back to photoshop smart object and how to get a grasp of it. In the first case I will show this image of an image straight out of camera (SOOC).

i.IMAGE STRAIGHT from Camera is a little cold

ii. THIS IMAGE has been colour corrected and makes that small but important modification


iii. The top image also needs a white balance adjustment. Spot the difference only minor but signifcant on the bottom image tweaked in Camera Raw.
Already I see things that need correcting or Photo shopping as many people term it. This is done in camera raw and apart from these corrections there are many stylized effects that can be created. The ones that I like I save as Raw presets. And thats something else I will discuss further.
This image shows the basic corrections for a technically sound image, but from there the alternatives are many and the creativity can flow. Most of the time if I as the photographer have done a good job there is very minimal adjustments to make, sometimes just the colour balance, brightness and a little contrast. If I underexpose, the exposure tool is good and if the highlights are too bright the recovery works good. There are so many other things that raw processing allows and some of my workshops really hone in on this and how to master it.
I will run through it step by step and you can see how the image transforms very easily using smart objects as your tool.
1. After making some adjustments I hold down the shift key, which turns the OPEN tab into an OPEN OBJECTS tab then, I click this or press return (enter on PC). This will open the images as smart objects in Photoshop and this is where the fun can begin. Don’t worry if its a bit slow objects tends to do this and you may look at optimizing Photoshop’s speed to counter this.
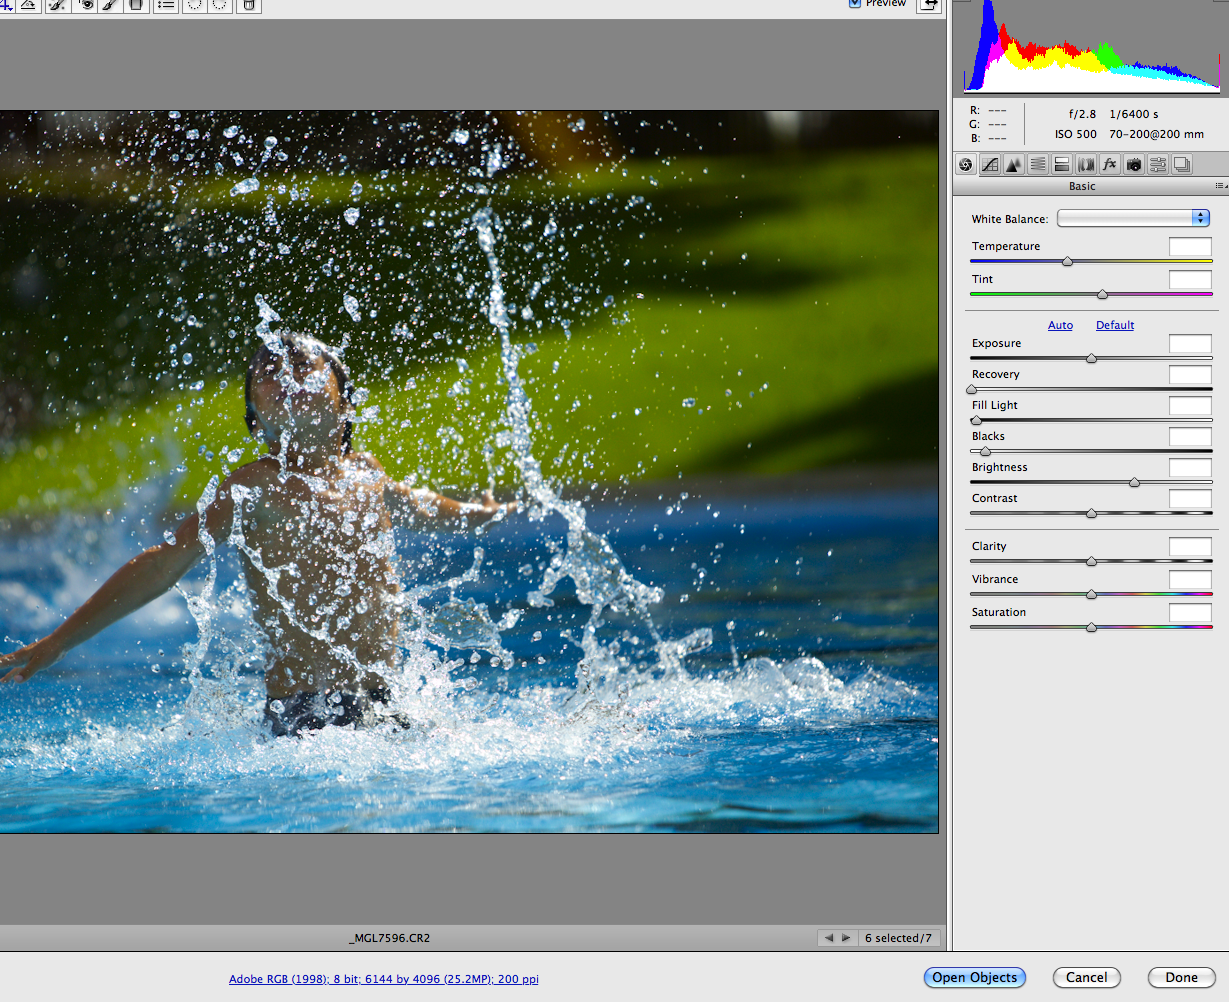
2. Now you have the images open, if you have worked with layers in Photoshop before you will notice that it’s not locked to the background as a normal non-smart object image is. The beauty of photoshop smart objects is that you can double click the icon in the layers tab and it will reopen in camera raw so you can make further adjustments.
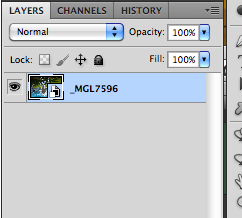
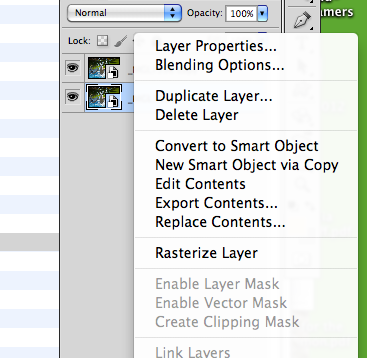
3. Now for creativity we might try something and to do this we simply duplicate the photoshop smart object by right clicking on the image number in the layers tab. This will bring up a list of options and then we will go to new smart objects via copy. We now have a copy of the original object
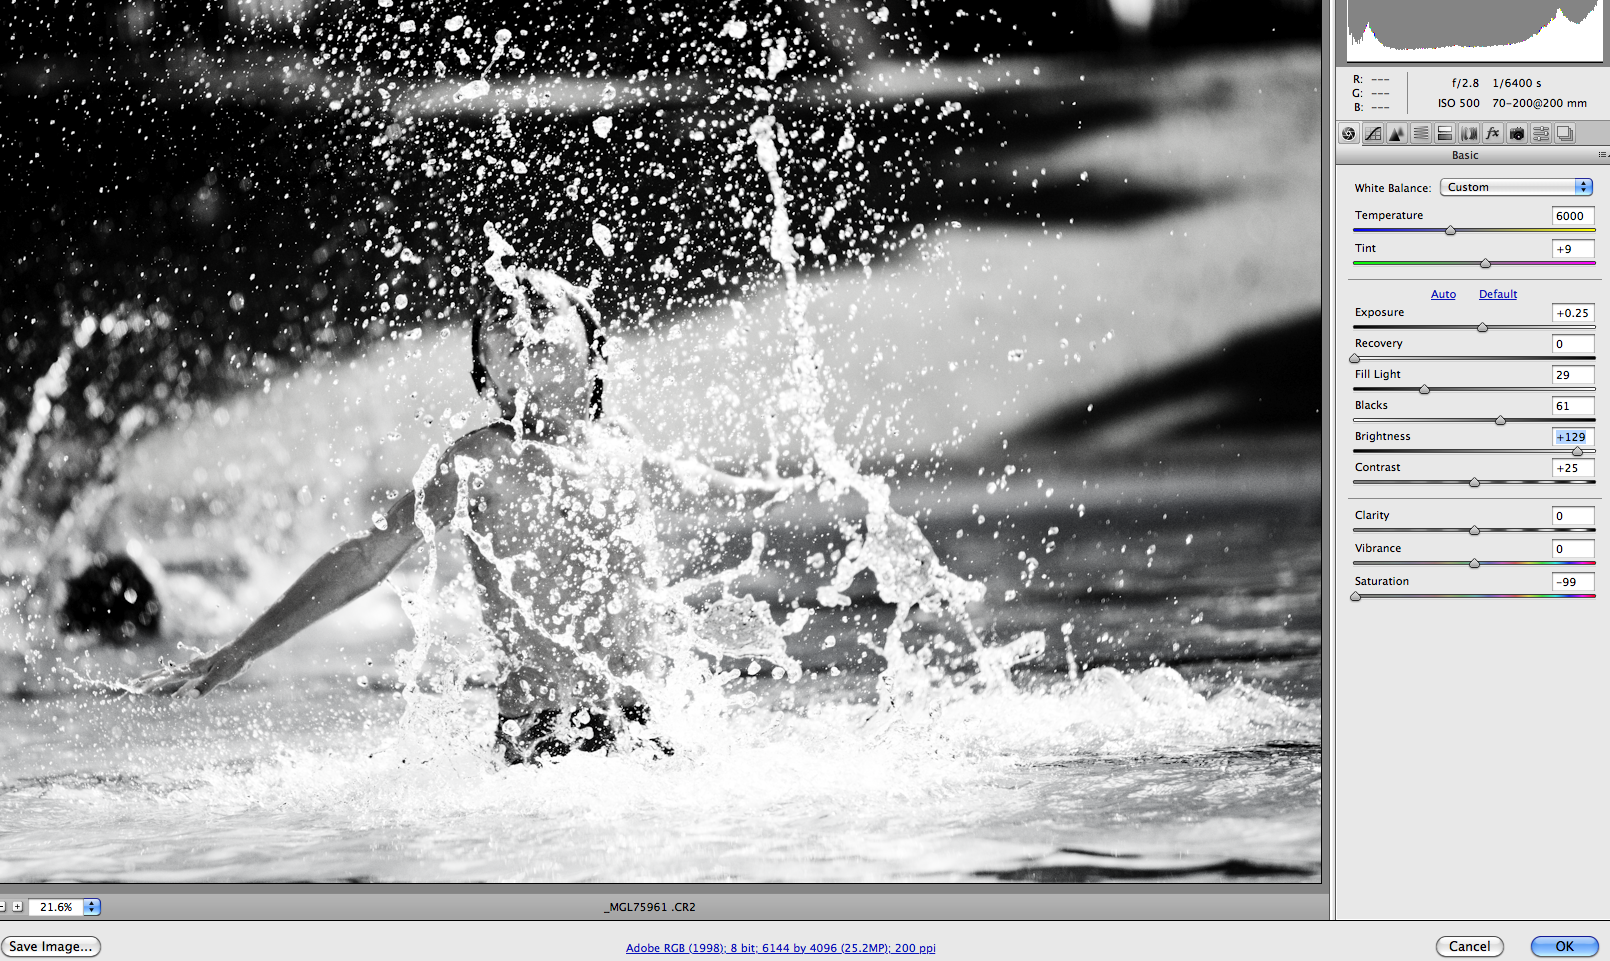
4. Double click on the top layer or object to alter it in camera raw. Slide the sliders where you want or add a preset. My first thought with this image is to change it to a high contrast black and white and this will become like a layer effect over the top of the image. When you are happy with what you are after click OK to commit the changes, but don’t worry you can always refine it or go for a totally different look by simply double clicking on it again.
5. Now that this image is on top to have the bottom layer show through you will need to select a blending mode from the layers palette. In his case I have changed from normal to soft light. But there are many options to choose and this includes changing the opacity and flow too. Like I said before the best thing about objects is you can reopen the image to access all its raw data simply by clicking on the image again. If you want to learn a bit more about why to use photoshop smart objects check out this video

6. Lastly if you want a bit more control you can do this by creating a layer mask and making isolated adjustments to certain areas only. (Another day another blog post for that.)
Here are the final images to compare to the original
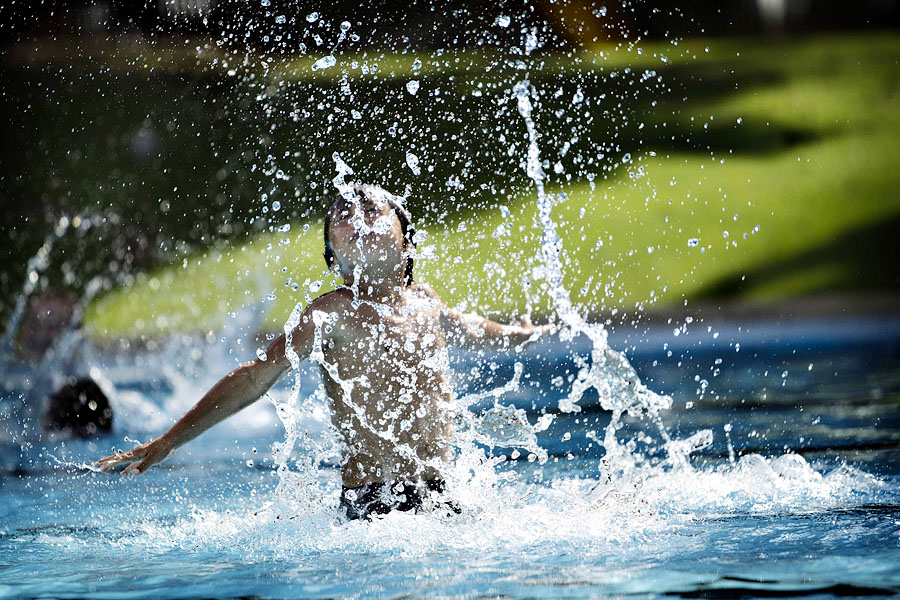

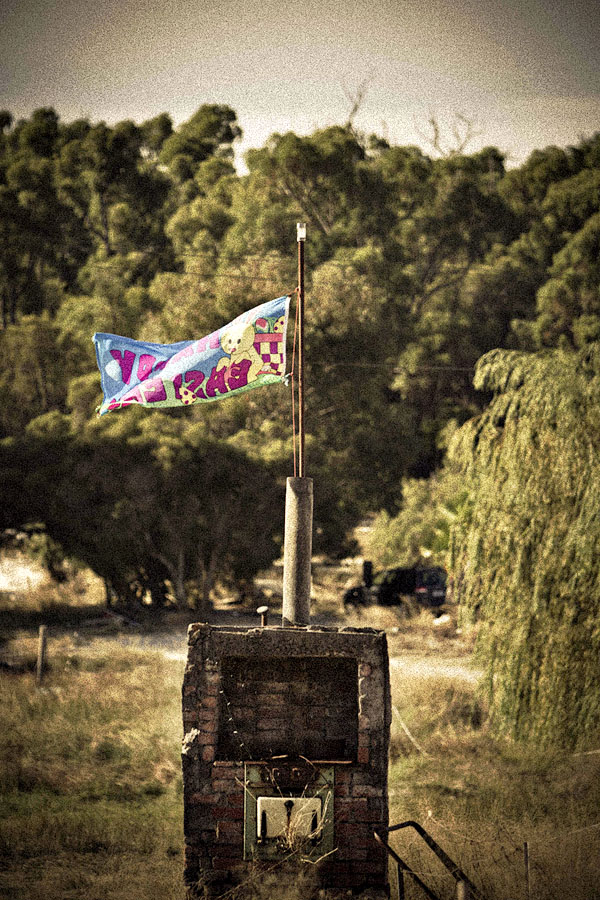
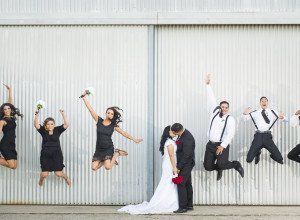
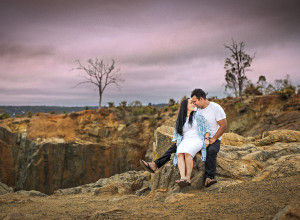
Now look at the original and the finished image. And here is a couple more that I did all from images I took at our recent family vacation.


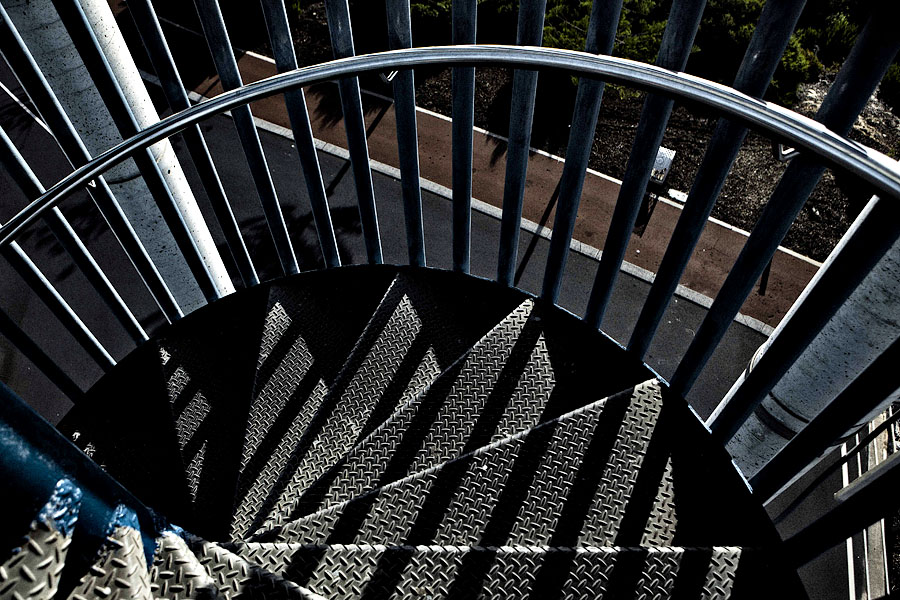
.jpg)



Leave a Reply
You must be logged in to post a comment.